
Not only newbies, but also professional designer and development teams may face some issues with Figma files organization (see the official Figma website here). That is why today, at Webcapitan, we want to tell you about the management of Figma files in the product team so that working with files is convenient not only for you but also for other designers and the entire web development team.
All information on Figma files organization will be divided into two blocks: settings screens in Figma and Figma file organization. We will discuss how best to organize the screens themselves and create a file with the subsequent configuration of the folder structure on your company’s workspace.
The full content of the Webcapitan guidelines on Figma file organization includes the following.
Let’s start from the starting point in Figma files organization, namely settings screens and the steps you should follow for productive UI/UX design as Webcapitan does (more on web development services here).
1. Settings Screens in Figma
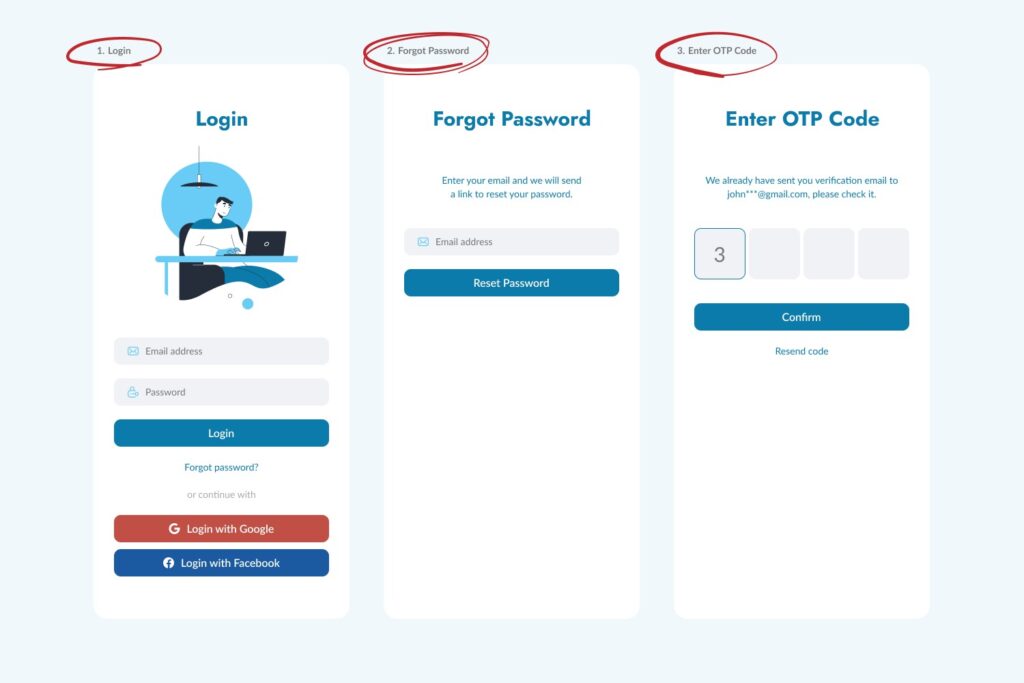
1.1. Flow Starting Point for Figma
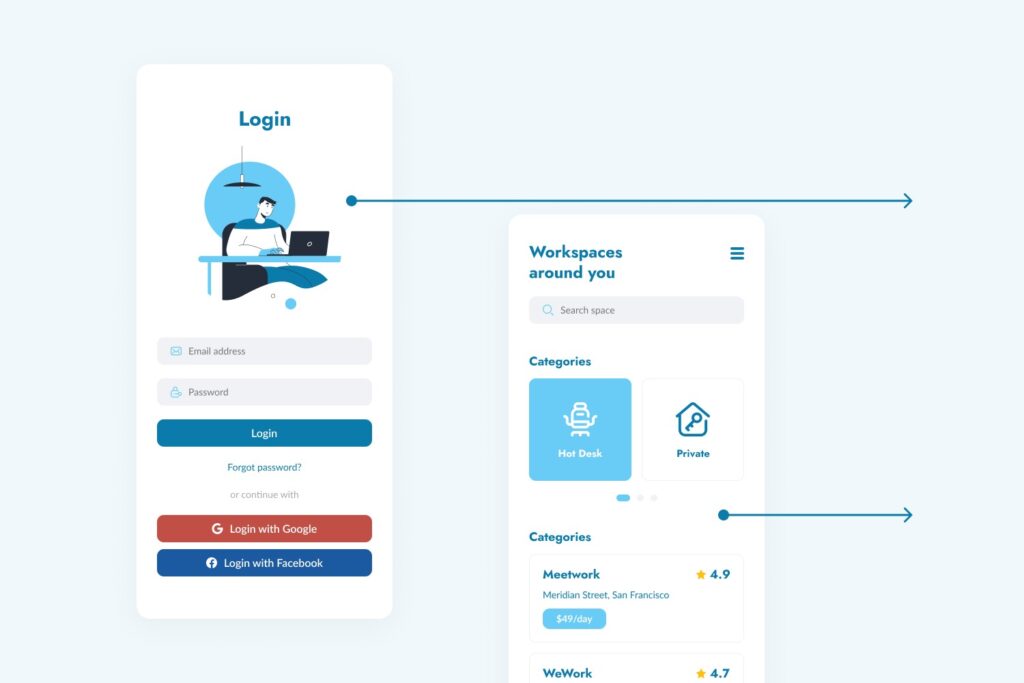
What is a starting point? The starting point is where the user interacts with your product or its element to define which part of your product may need the involvement of other teams to upgrade design and enhance development.
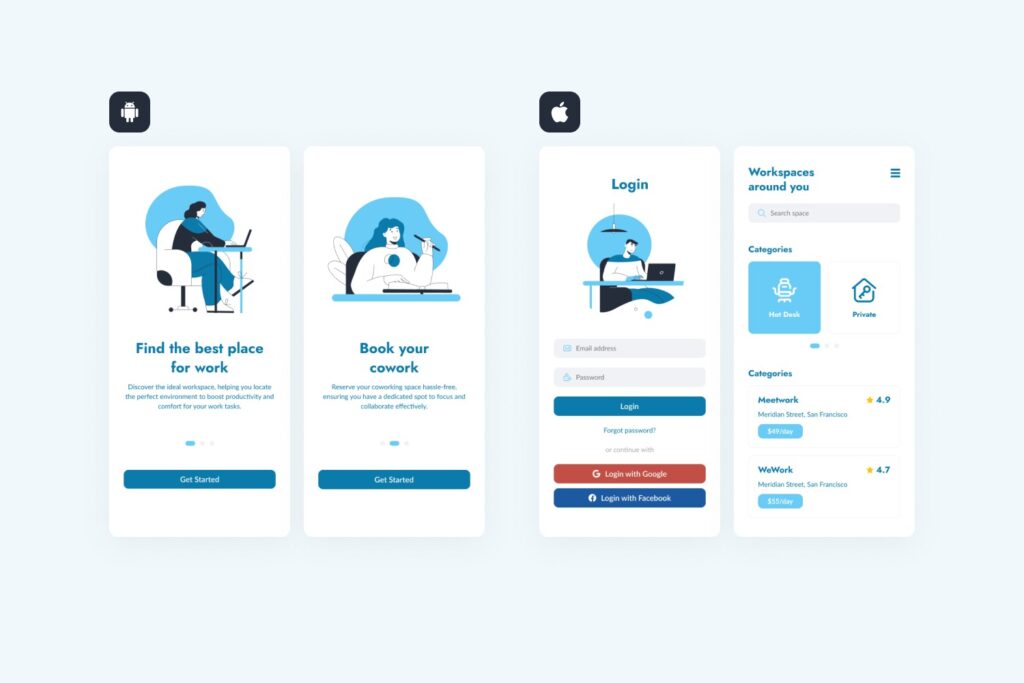
For instance, you want to rent a workplace in the nearest coworking space for tomorrow. In this case, the point of booking entry will be the application screen with the list of suitable workspaces for booking, where you choose the necessary workplace.
1.2. Branching in Figma
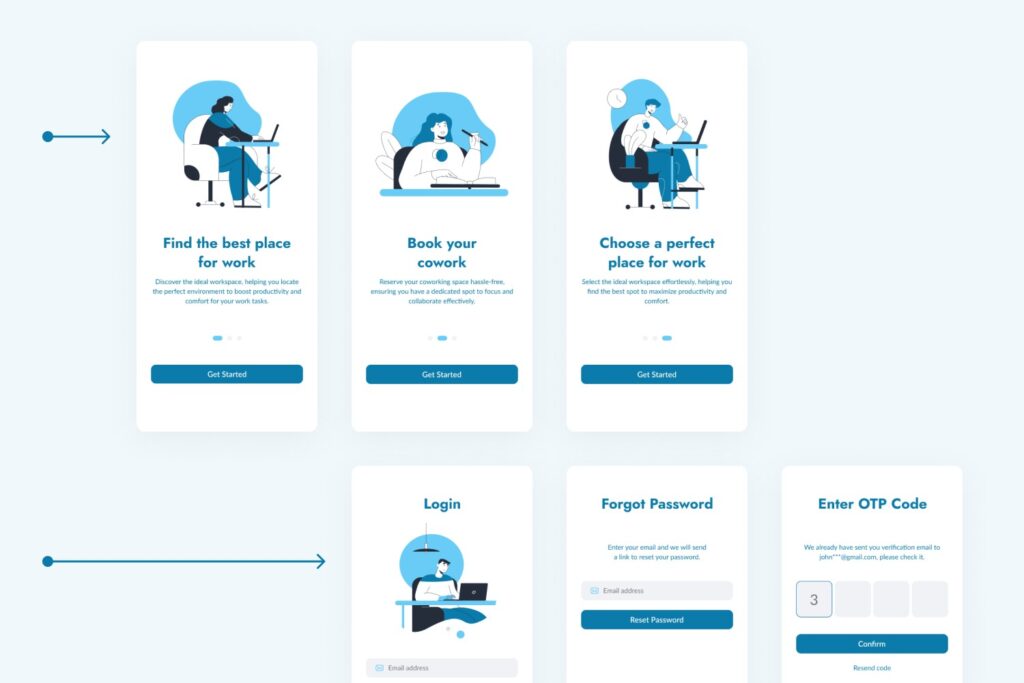
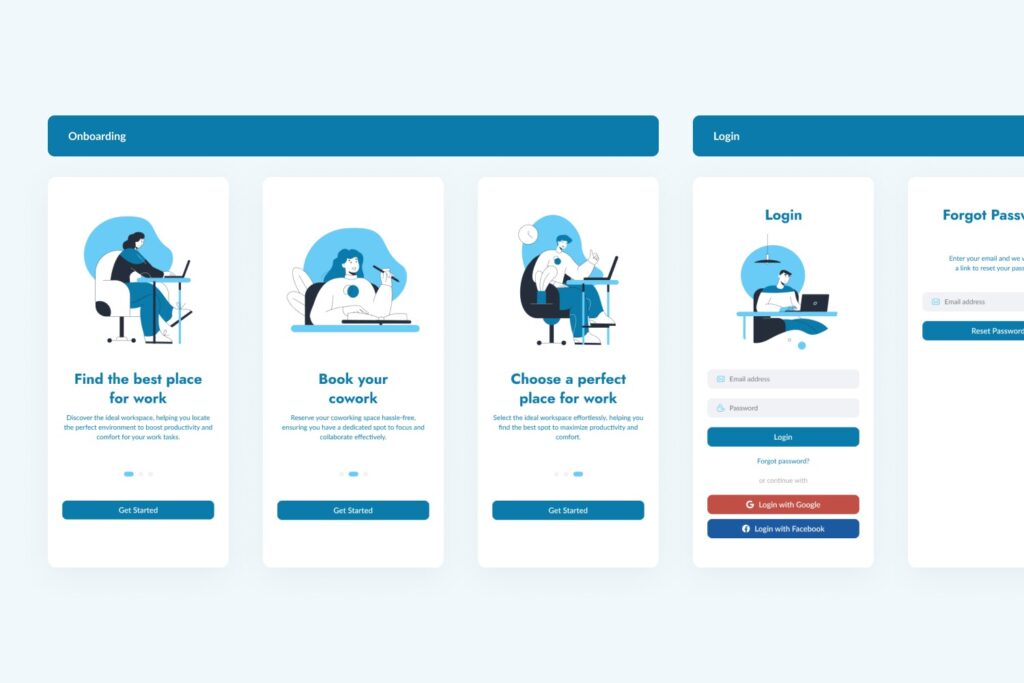
We advise presenting layouts as scenarios: one row – one logical and complete scenario. This method allows tracking the entire user path from the beginning to the end, both from the designer’s and the developer’s point of view, to ensure that all the data has been considered and nothing has been missed.

If there are many screens and a scenario branching, you should just put an additional scenario next to it. You can use a plugin or arrows to show the branching point and the beginning of this scenario.
1.3. Errors & Empty States in Figma
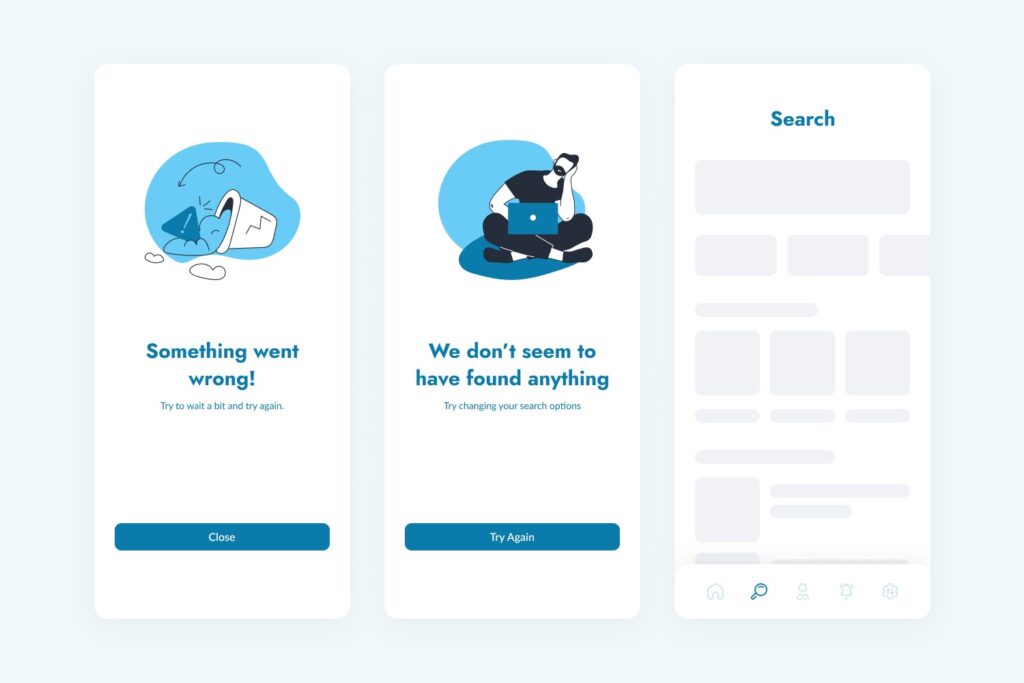
In addition to the main screens, you should also pay attention to error screens such as “no network” or “no response from the server” and screens with empty states. It would be best to show how the screens look when loading the page. Designers and developers often forget about these states, although they are essential to the user experience.
1.4. Indent Settings in Figma
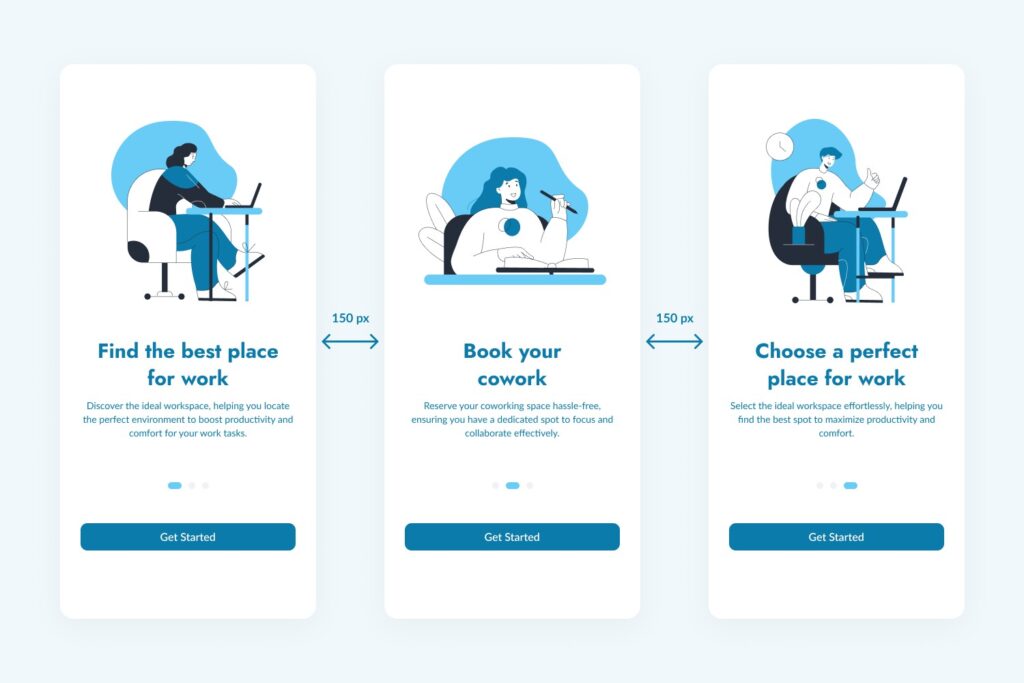
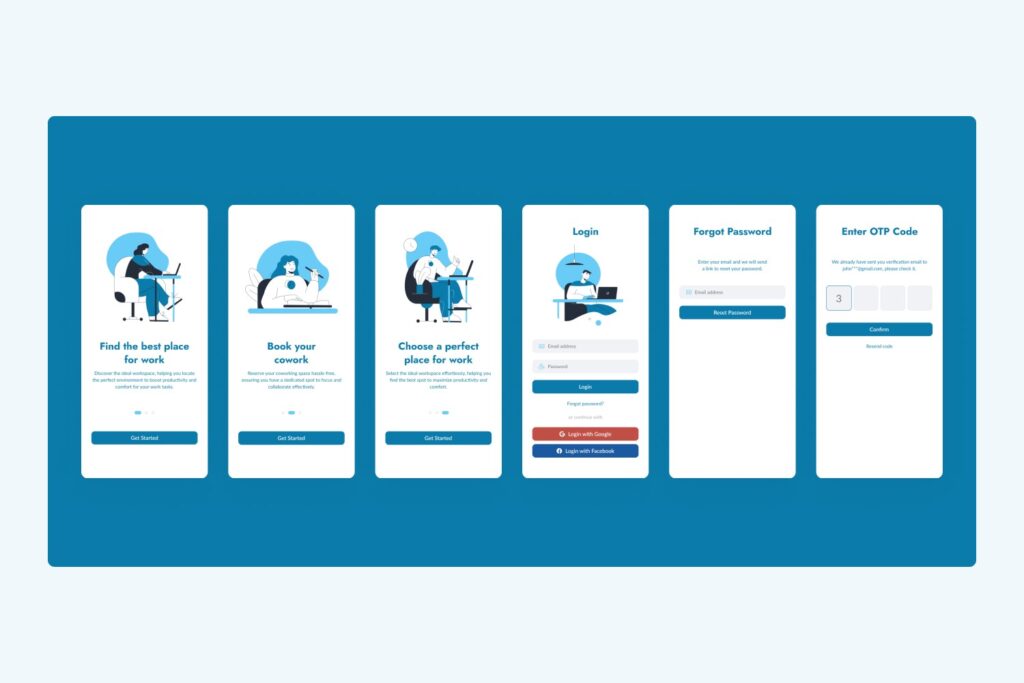
Here, we mean indents between the layouts in the user scenario. We advise using the same indents between the screens, for example, 120 or 150 pixels between mobile layouts, thus adding some rhythm and structure to the file and maintaining order.
The same goes for the web. We advise using 250-300 pixels between desktop screens. You can choose these indents freely, but try to preserve the same parameters.
1.5. Screen Naming in Figma
An additional element of order allows you to find the desired shape quickly and not get lost among a dozen screens with the same names. You can also use the numbering to make it easy to find the necessary layout with a unique name, for example, when discussing with developers.
1.6. Scenario Naming in Figma
When you set the user scenario in Figma, you must merge the flow. We prefer using the usual shape with the text by making it into a component you can stretch as you like. To do this, you should select this component and place it over a group of screens. This allows you to highlight the logically related pieces of the scenario and group them.
It is crucial to combine the screens and divide them by meaning, so we advise grouping, signing and separating another group of screens by meaning using a somewhat larger indent than applied between the screens.
1.7. Avoid Frames as Background in Figma
Many designers use framing for screen grouping. We do not recommend this method because it has several disadvantages. For example, not all screens in your user scenario have the same height. Accordingly, by placing their shape, you will need to adjust it to the height of the screens, but it can take a lot of space. Another disadvantage is that by placing screens in such a shape, you hide their names so that your screens’ names will be left unnoticed, although you have signed them. This can lead to some navigation errors in your file.
1.8. Comments in Figma
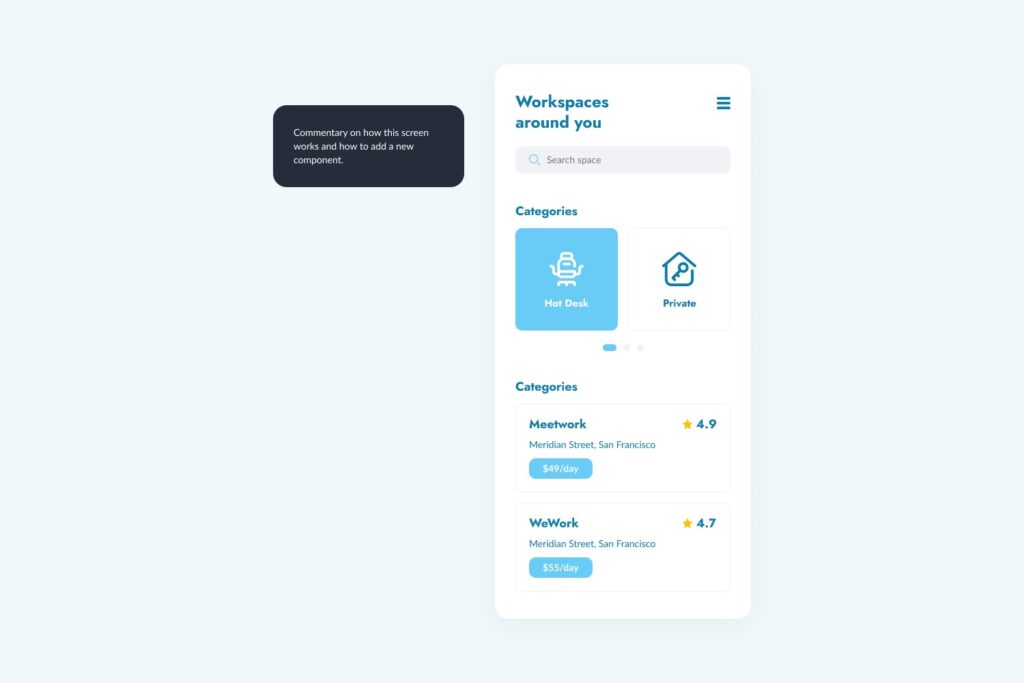
It happens that design is not enough, and you need to describe what happens on the screen, so you should put additional information or add a comment for the developers, for instance, to show an example of animation you want to use, highlight a unique or new component or simply give a reference to a prototype or similar solutions. To do this, you should create a component – a simple text component on a white background that stretches depending on the content. Since this is a frame, it is convenient to add a link. For example, if you want to add a specific comment to the developers, you can put it anywhere. It all depends on your preferences, but we advise putting it at the bottom of the screen.
1.9. OS Indication in Figma
If the project uses two mobile platforms, iOS and Android, then you should mark each flow specifying the platform for the layouts. We try to keep all scenarios of one feature on the same artboard, as the details of realization may vary depending on the platform, so it is more convenient to assemble feedback from the design and development teams in one place. However, if your project uses cross-platform development on Flutter or React Native, this advice won’t work for you since you will have one layout for both platforms.
As a result, you have a logically and visually built flow, signed sections, comments for the developers, and signed platforms with links to prototypes.
Now, we can proceed to discuss file preparation.
2. Figma File Organization
After the screen setting, you must prepare the file, which implies its description.
2.1. Description for Project Pages in Figma
If you have other designers, it is impossible to be aware of all the projects and tasks they are working on, so we advise using a simple component to enhance file processing.
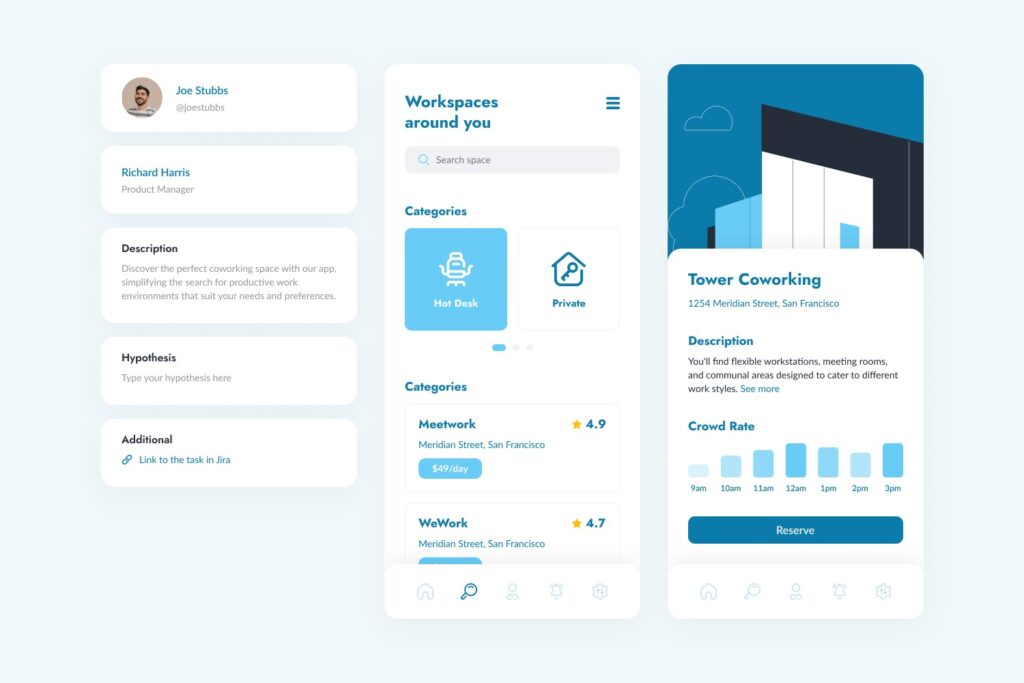
We mean a few shapes with specific content. First, we always show the responsible designer his or her photos, full name and contact nickname in telegram or Slack. We also mark the product manager and provide a short description. Here, we list what the feature should do, what scenarios to cover and what metrics we want to check.
There are the “Hypothesis” and “Additional” sections, where we can share a link to the task in Jira or any other tracker. All these sections are optional and can be changed depending on your context and tasks, thus proving the high flexibility of Figma.
2.2. Figma Covers
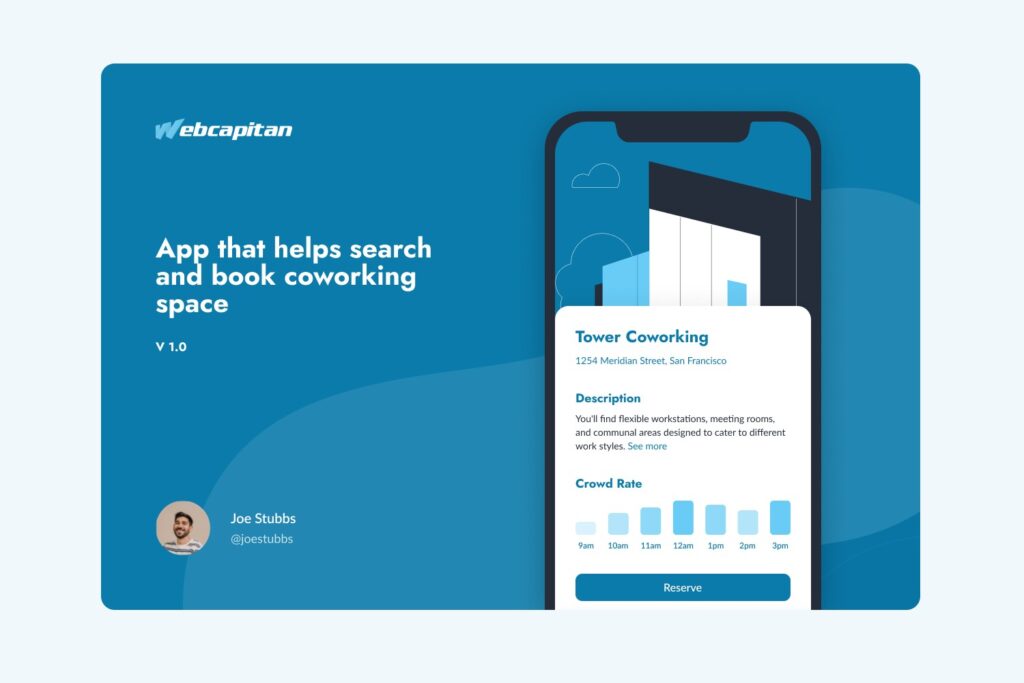
To make the search more manageable, you need to make the cover. This is a preview of all your work. As a rule, it consists of:
- the screen of the mobile phone (actually where the image with your screen will be inserted);
- the team and the product involved in the development of this feature;
- the name of the feature, its version;
- the contact person (the designer in charge of the layouts).
How to install the cover?
Previously, you had to create a separate page in Figma named Cover and put this shape there. Now you can store it anywhere. You should just go to the context menu and click “Select as a thumbnail” to update the file.
2.3. Figma File Structure
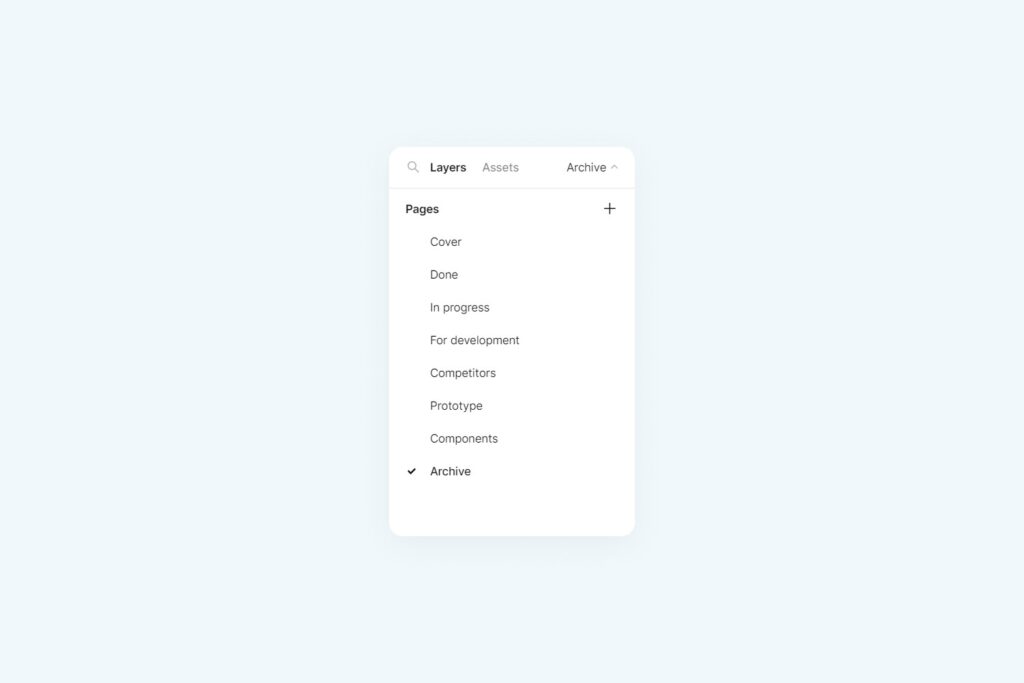
We advise dividing the file into pages. For example, the “Done” folder contains layouts that track all the feedback from the design and development teams.
The order and naming of the presented folders can vary depending on the processes in your company. If you need better visualization, you can add emojis.
2.4. Workspaces in Figma
There are two ways to organize the workplace:
- In case of a company account, all projects are divided into folders respectively, one folder is one project. This folder stores all files associated with this project. On the one hand, it is a good decision since there is only one place for all the files. On the other hand, it is a problem since you do not know the status of a particular task, so the person unaware of the project cannot understand it at all.
The solution is to use a cover featuring the status of the tasks. However, Figma cannot filter files by status. This problem can be solved with the second approach. - In case of a company, team or product account, you can create folders corresponding to the status of your task: “In progress”, “Design review”, “In Dev”, or “Archive”. This approach helps solve the problem with the task status. Your file simply moves from one folder to another one, which corresponds to the exact task status to inform each member of your team of the current task status. It is a very flexible and convenient solution.

Now, you are aware of Figma file organization and would follow the guidelines provided by Webcapitan. In short, you should do the following:
- Set screens in Figma: analyze the flow starting point, use branching, errors, empty states, set similar indents, name screens and scenarios, avoid frames as background, comment components and mark the OS.
- Organize files in Figma: provide description for project pages, use covers and preserve file structure.
At Webcapitan, we hope that our web development team has covered all the issues you may face with Figma files organization. If you have any questions about Figma or related UI/UX design issues, please feel free to contact us.